
Oct 26, 20268 min read
How to Launch QR Trails People Want to Finish
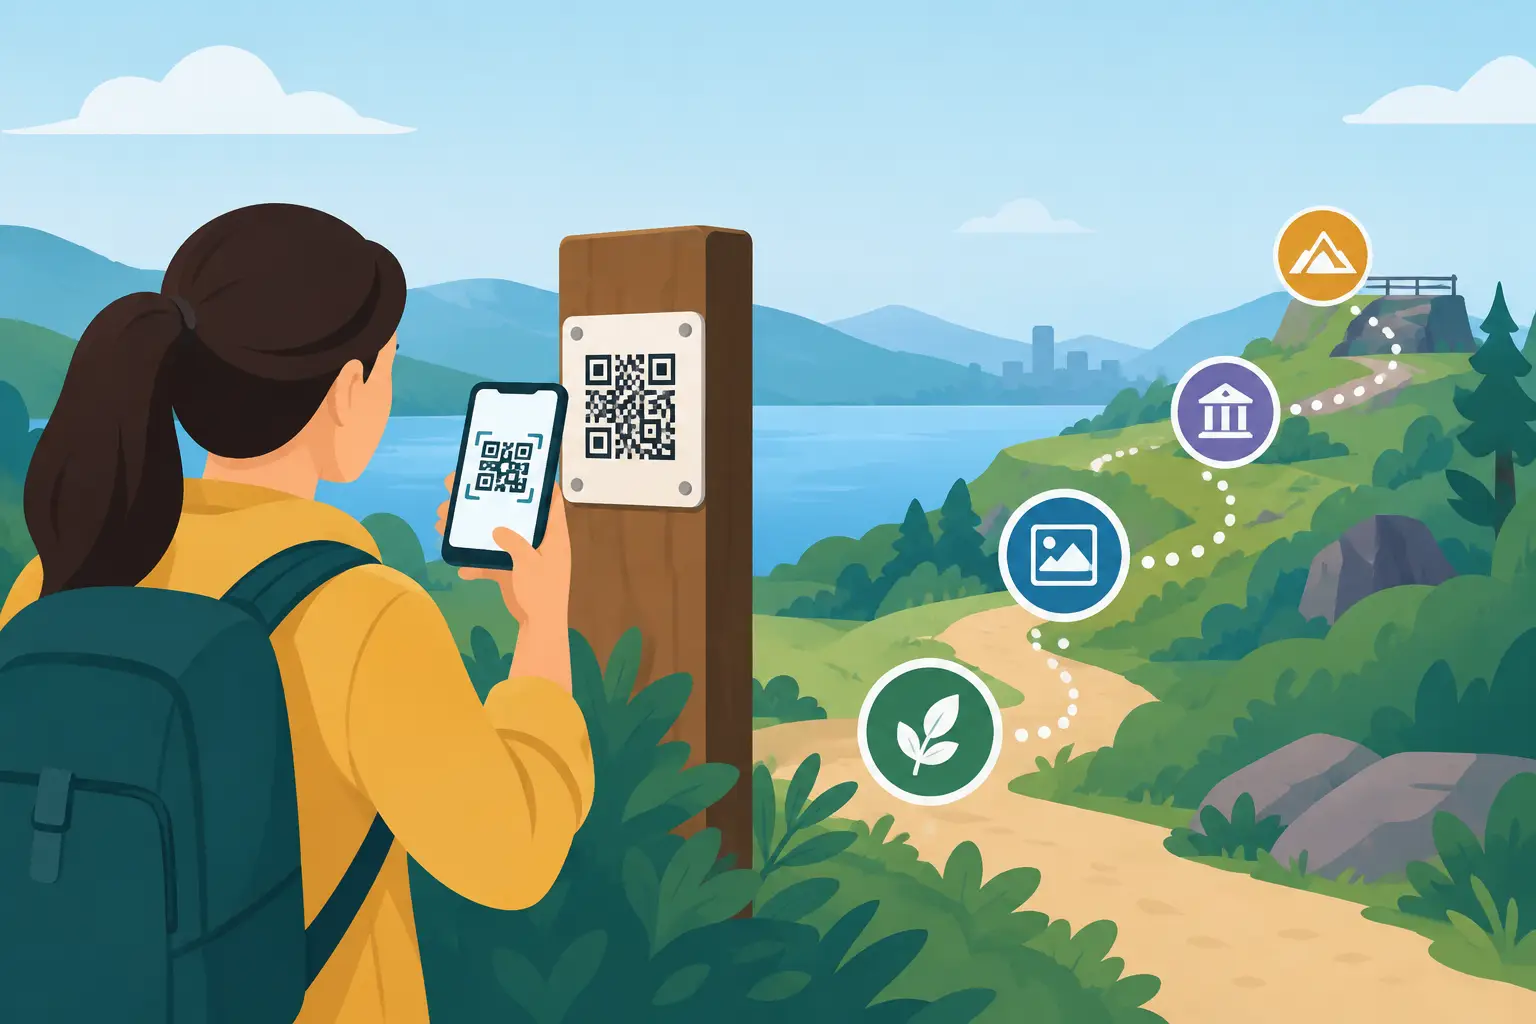
A QR code on a sign is not an experience. It is an invitation. Knowing how to launch QR trails means designing what happens after the scan: a reason to keep walking, a story worth chasing, and a payoff people will talk about after they leave.
The strongest QR trails turn ordinary streets, landmarks, parks, galleries, and event spaces into active territory. Participants are not simply reading plaques or following pins. They are solving, collecting, choosing, noticing, and moving through a place with a mission.
How to launch QR trails people want to finish
Start with one clear promise. A trail can uncover hidden architecture, send families on a local history hunt, build anticipation around a festival, or turn a downtown district into a competitive exploration game. But it should not try to do all of those things at once.
Ask one question: what will someone be able to say they did when the trail ends? “I found the lost stories behind the waterfront” is stronger than “I visited 12 locations.” “We solved the mystery of the old theater” has more pull than “We learned about local culture.” Your trail needs a mission, not just a map.
This decision shapes the entire experience. A tourism board may build a trail that disperses visitors beyond the busiest attractions. A museum may use it to connect indoor exhibits with the neighborhood outside. An event organizer may create a time-limited trail that drives people to sponsors, performances, or overlooked corners of a venue. The format is flexible. The central promise cannot be vague.
Build a route around momentum, not distance
A QR trail does not need to be long to feel substantial. For most city visitors, a 45-to-90-minute route is a strong starting point. It is long enough to create a sense of progress and short enough to fit between lunch, check-in, and other plans.
Choose stops with contrast. Pair a major landmark with a narrow alley, a public artwork with a viewpoint, a food market with a surprising local detail. Every stop should earn the walk to get there. If two points deliver the same visual, historical, or emotional value, cut one.
The route should also make practical sense. Avoid forcing people across dangerous crossings, through private property, or into areas that feel uncomfortable after dark. Check accessibility from the beginning, including curb cuts, stairs, pavement conditions, seating, lighting, and transit connections. A trail built for discovery should never make participants feel stranded.
Think about the first and final locations especially carefully. The opening stop needs instant energy. Put the first code somewhere easy to find and give the scanner a satisfying first response within seconds. The final stop should feel earned, whether that means revealing a solution, granting a digital badge, offering a reward, or simply landing a memorable final story.
Make every scan do something
The most common QR trail mistake is using codes as digital filing cabinets. A participant scans, reads a long block of text, then scans again. That is not a trail. It is a webpage distributed across a neighborhood.
Each scan should create an action or change the player’s understanding of the route. At one stop, ask them to find a symbol in the building facade. At another, let them collect a virtual object tied to a local legend. At another, give them a choice between two paths, each revealing a different side of the area.
Mix the interaction types so the rhythm stays alive. You might use a visual riddle, a short audio memory, a photo challenge, a multiple-choice question, a GPS-triggered reveal, and a final puzzle. The point is not to add mechanics for their own sake. Every interaction should support the story and reward attention to the real world.
Keep instructions brief. People are standing outside, often in bright sunlight, with limited time and a phone in one hand. Write like a game host, not a textbook. Give them one clear task, a useful clue, and a reason to continue.
Design for the phone, then design for the street
Your mobile experience must work before the physical trail can work. Test every screen on common phone sizes, on both major operating systems, and on cellular data rather than office Wi-Fi. Large tap targets, readable type, high-contrast visuals, and quick-loading media matter more than decorative effects.
Then test the physical code placement. Codes should be visible without becoming visual clutter. Place them where people can safely pause and scan, ideally at eye level and away from glare, moisture, or surfaces likely to be blocked by parked vehicles, crowds, or temporary signage.
Give every code a human-readable backup, such as a short location name or stop number. If a code is damaged or a camera struggles to focus, participants need a way to keep moving. For paid experiences, this is particularly important. A single broken point can turn excitement into a refund request.
QR codes can also create friction at the starting line. Some travelers may not know whether they need an app, a ticket, a login, or a browser. State the entry steps clearly at the trailhead and in every promotional asset. The fewer questions people have before the first scan, the more likely they are to begin.
Turn local knowledge into a game layer
The best trail content comes from details people would otherwise walk past. A guide’s favorite overlooked mural, a baker’s story about a street name, a vanished building, an unusual door knocker, a neighborhood ritual - these are the ingredients that make a route feel local rather than generic.
Build a simple narrative spine before writing individual stops. A mystery trail might begin with a missing artifact, introduce suspects or clues along the route, and end with a final deduction. A heritage trail might follow the life of one historical figure. A food-focused trail could ask players to assemble a virtual recipe from discoveries across a district.
Game mechanics give that narrative forward motion. Progress bars, collectible items, timed mini-challenges, scoreboards, and hidden bonus stops can all work well. But use them with purpose. Competitive scoring can energize friend groups and event crowds, while a reflective audio moment may better suit a memorial site or cultural institution.
This is where a platform such as Leplace can help creators package location-based storytelling, challenges, and digital rewards into an interactive self-guided experience without building a custom product from scratch. The technology should stay in the background. The place should remain the star.
Pilot with people who did not build it
Before launch, invite a small test group that reflects your real audience. Include at least one person who knows the area well and one who does not. Watch where they hesitate, where they stop reading, which clues feel obvious, and which locations create genuine delight.
Do not explain the trail while they test it. If they need the creator beside them to understand a task, the task is not ready. Time the full route, including bathroom breaks, wrong turns, photos, and the temptation to stop for coffee. Real exploration is not a controlled demo.
Use the pilot to check operational details too: code durability, GPS accuracy, venue opening hours, public event conflicts, construction work, and mobile signal. A route that works on Tuesday morning may fail on a Saturday market day. Plan for the version of the city your visitors will actually encounter.
Launch as an invitation, not a technical announcement
“New QR trail available” is not a compelling launch message. Lead with the experience people can have: solve a city mystery after dark, collect the secrets of a historic district, or race friends through a festival’s hidden side.
Make the start point easy to find in person and online. Use a strong visual at the trailhead that shows the mission, estimated time, price if applicable, accessibility notes, and what participants need to bring. For an event activation, staff the first location during peak hours so curious passersby can get moving immediately.
Partners can expand the trail’s reach when they have a reason to care. Hotels can recommend a nearby route to guests with an open afternoon. Cafes can host a clue or reward. Museums can position a trail as the next chapter after an exhibit. Local businesses should feel like meaningful stops in the experience, not interruptions pasted onto it.
Pricing depends on the value and context. A short public-awareness trail may be free because its goal is foot traffic or destination marketing. A premium narrative game with exclusive access, rewards, or deep original content can justify a ticket price. Free trails need a clear business purpose; paid trails need a clear sense of occasion.
Measure movement, not just scans
A high scan count can look impressive while hiding a weak experience. Track where participants begin, where they quit, how long they spend at each stop, which challenges they replay, and whether they reach the finale. Completion rate is often more meaningful than raw participation.
Read feedback for emotional signals. Did people mention surprise, discovery, competition, or a new appreciation for the area? Did they share photos? Did they recommend the trail to someone else? Those reactions reveal whether you created a route people merely used or an experience they remember.
Keep improving after launch. Replace weak clues, add a seasonal bonus stop, adjust the route around construction, and refresh rewards before repeat visitors lose interest. QR trails are not fixed signs. They are living layers on top of a real place.
The code may start the journey, but the feeling of finding something unexpected is what brings people back. Build for that moment, and your trail can turn a simple walk into a story people carry into the next block, the next city, and the next conversation.
Enjoyed this post?
Comments
Be the first to comment.